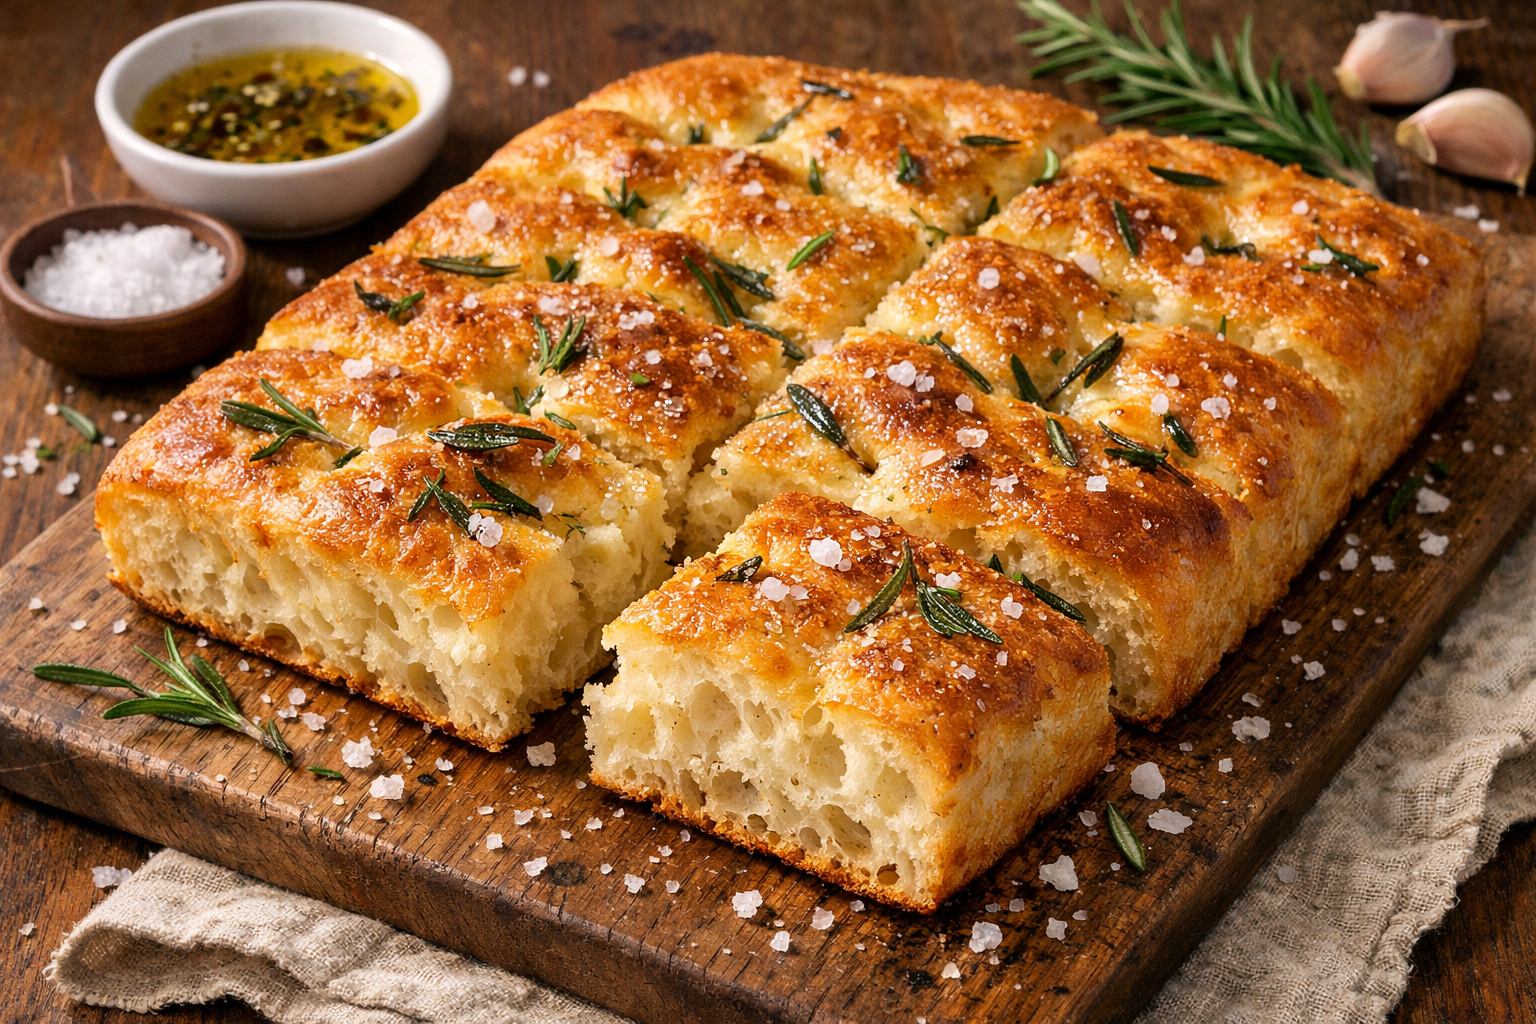
Easy Homemade Focaccia: Crispy Outside, Soft Inside
Focaccia is the bread you make when you want something impressive without the fuss. No kneading. No shaping. No complicated technique. Just flour, water, yeast, and enough olive oil to make the edges crisp and golden while the inside stays impossibly soft.
It’s the kind of bread that makes your kitchen smell like an Italian bakery. The kind that disappears within an hour of coming out of the oven. The kind that turns a simple dinner into something worth remembering.
This recipe takes about three hours from start to finish, but most of that is hands-off rising time. Your actual work? Maybe 15 minutes. The rest is just waiting — and trust me, it’s worth every minute.
Watch how olive oil transforms this bread
Why Olive Oil Matters
Olive oil isn’t just an ingredient in focaccia — it’s the ingredient. It does three critical things:
- Texture: It keeps the crumb tender and open, creating those signature air pockets.
- Flavor: Extra virgin olive oil adds a fruity, peppery depth that plain bread can’t match.
- Crust: The oil in the pan fries the bottom and edges as the bread bakes, giving you that golden, crispy exterior.
Don’t skimp. Use good olive oil. You’ll taste the difference.
The dimples aren’t just for show. They’re little pools for olive oil, salt, and herbs to settle into as the bread bakes.
What Makes This Recipe Easy
Traditional bread recipes require kneading for 10+ minutes to develop gluten. This one doesn’t. Instead, we use a wet dough and a stretch-and-fold technique. It’s gentler, faster, and it builds structure without the arm workout.
The dough is sticky, almost batter-like. That’s intentional. High hydration = open crumb and soft texture. Embrace the stickiness. It’s working for you.
Recipe
Easy Homemade Focaccia
Yield
8 servings (9×13 pan)
Prep
20 min
Rise
1 hr 30 min – 2 hrs
Bake
20-25 min
Total
~2 hrs 45 min
Ingredients
Dough
- 3 cups all-purpose flour
- 1 packet (2 ¼ tsp) active dry yeast
- 1 ¼ cups warm water (about 110°F)
- 2 tsp granulated sugar
- 1 ½ tsp salt
- ¼ cup extra virgin olive oil (for dough)
Pan & Topping
- 3 tbsp extra virgin olive oil (for pan and topping)
- Flaky sea salt
- Fresh rosemary leaves (about 2–3 sprigs)
- Optional: cherry tomatoes, garlic, red pepper flakes
Equipment
- 9×13 inch sheet pan or baking dish
- Large mixing bowl
- Kitchen towel or plastic wrap
- Measuring cups and spoons
- Pastry brush (optional)
Phase 1
Make the Dough
Bloom the yeast.
In a large bowl, combine the warm water, sugar, and yeast. Stir gently and let it sit for 5–8 minutes until foamy. If nothing happens, your water was too hot or too cold. Start over with fresh yeast and check the temperature — 110°F feels warm to the touch, but not hot.
Mix the dough.
Add the flour, salt, and ¼ cup olive oil to the yeast mixture. Stir with a wooden spoon or your hands until everything comes together into a shaggy, sticky dough. It will look rough and wet — that's exactly right.
Focaccia dough is wetter than most bread doughs. Resist the urge to add more flour. That wetness is what creates the airy, open crumb.
Fold and rest.
Instead of kneading, use a stretch-and-fold technique. Wet your hands, grab one edge of the dough, stretch it up, and fold it over itself. Rotate the bowl 90 degrees and repeat. Do this 4 times, then let the dough rest for 10 minutes. Repeat the stretch-and-fold process two more times (30 minutes total). The dough will become smoother and more cohesive each time.
First rise.
Drizzle a little olive oil around the inside of the bowl, turning the dough to coat it. Cover with a damp towel or plastic wrap and let it rise in a warm spot for 60–90 minutes, until doubled in size. It should be puffy and full of air bubbles.
For the warmest spot, turn your oven light on (not the oven itself) and place the bowl inside. Or set it on top of the fridge.
Phase 2
Shape and Dimple
Prepare the pan.
Drizzle 2 tablespoons of olive oil into your 9×13 inch sheet pan. Use your hands to spread it evenly across the bottom and up the sides. This is what gives focaccia its crispy, golden underside.
Transfer the dough.
Turn the risen dough out into the oiled pan. Don't punch it down — you want to keep those air bubbles. Use your fingertips to gently stretch the dough toward the edges. If it resists, let it rest for 5 minutes and try again. Get it as close to the corners as you can.
Dimple the dough.
Press your fingertips straight down into the dough, all the way to the bottom of the pan, creating deep dimples across the entire surface. Don't be shy — these dimples are signature focaccia. They hold olive oil, salt, and toppings, and they help the bread bake evenly.
The dimpling action redistributes the air pockets and gives focaccia its iconic texture. This is the fun part.
Second rise and top.
Cover the pan loosely with a towel and let the dough rise for another 30 minutes. It will puff up and fill the dimples slightly. Just before baking, drizzle the remaining tablespoon of olive oil over the top, sprinkle with flaky sea salt, and press fresh rosemary leaves into the dough. Add cherry tomatoes or garlic slices if you like.
Phase 3
Bake to Golden Perfection
Preheat your oven to 425°F (220°C).
Place a rack in the center of the oven and let it come to full temperature. Focaccia needs high heat to develop that crispy, golden crust.
Bake for 20–25 minutes.
The focaccia is done when the top is deeply golden brown and the edges are crisp. If you lift a corner with a spatula, the bottom should be golden too. Don't pull it early — an extra 2–3 minutes makes all the difference.
If the top is browning too quickly but the center isn't done, tent loosely with foil for the last 5 minutes.
Brush with olive oil.
As soon as it comes out of the oven, brush the top with another drizzle of olive oil. This adds flavor and gives it a beautiful sheen. Let it cool in the pan for 10 minutes, then transfer to a cutting board.
Slice and serve.
Cut into squares or rectangles. Focaccia is best served warm, but it's still delicious at room temperature. It makes incredible sandwiches, and it's perfect for dipping in olive oil and balsamic vinegar.
Tips From Our Kitchen
For flavored oil
Infuse your olive oil before baking. Warm ¼ cup olive oil with crushed garlic, red pepper flakes, or herbs in a small pan over low heat for 5 minutes. Let it cool, then use it for the topping. The flavor blooms in the oven.
For overnight focaccia
After the first rise, cover the bowl tightly and refrigerate overnight (up to 24 hours). The next day, bring it to room temperature for 30 minutes, then proceed with shaping and the second rise. Cold fermentation deepens the flavor.
For storing and freezing
Store leftovers wrapped in foil at room temperature for up to 2 days, or freeze in a ziplock bag for up to 3 months. Reheat at 350°F for 8–10 minutes to crisp it back up.
For sandwich use
Slice the focaccia horizontally to make one giant sandwich, then cut into portions. It holds up beautifully to roasted vegetables, cured meats, fresh mozzarella, and arugula.
The Final Word
This is the bread you make when you want something special without the stress. No stand mixer. No complicated shaping. Just your hands, a bowl, and a sheet pan.
It’s perfect on its own, torn into pieces and dipped in olive oil. It’s even better as the foundation for sandwiches, alongside soup, or served with a charcuterie board. And if you’ve never made bread before? This is the place to start.
Once you pull this out of the oven — golden, fragrant, still crackling from the heat — you’ll understand why focaccia has been a staple for centuries. It’s simple. It’s forgiving. And it always, always delivers.