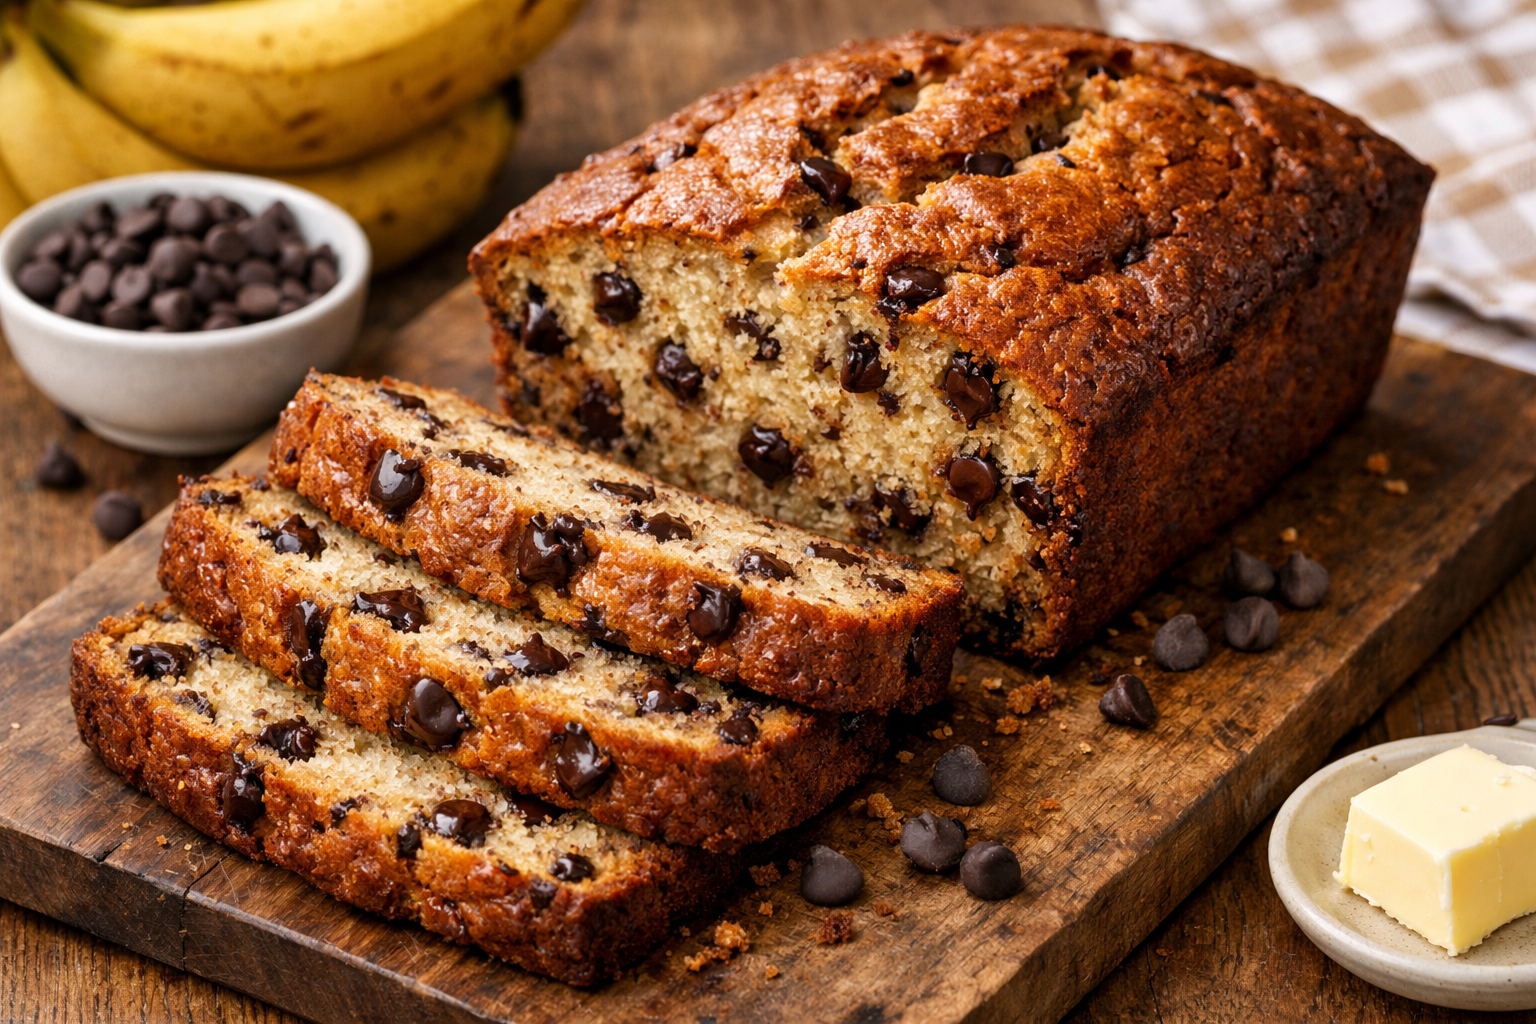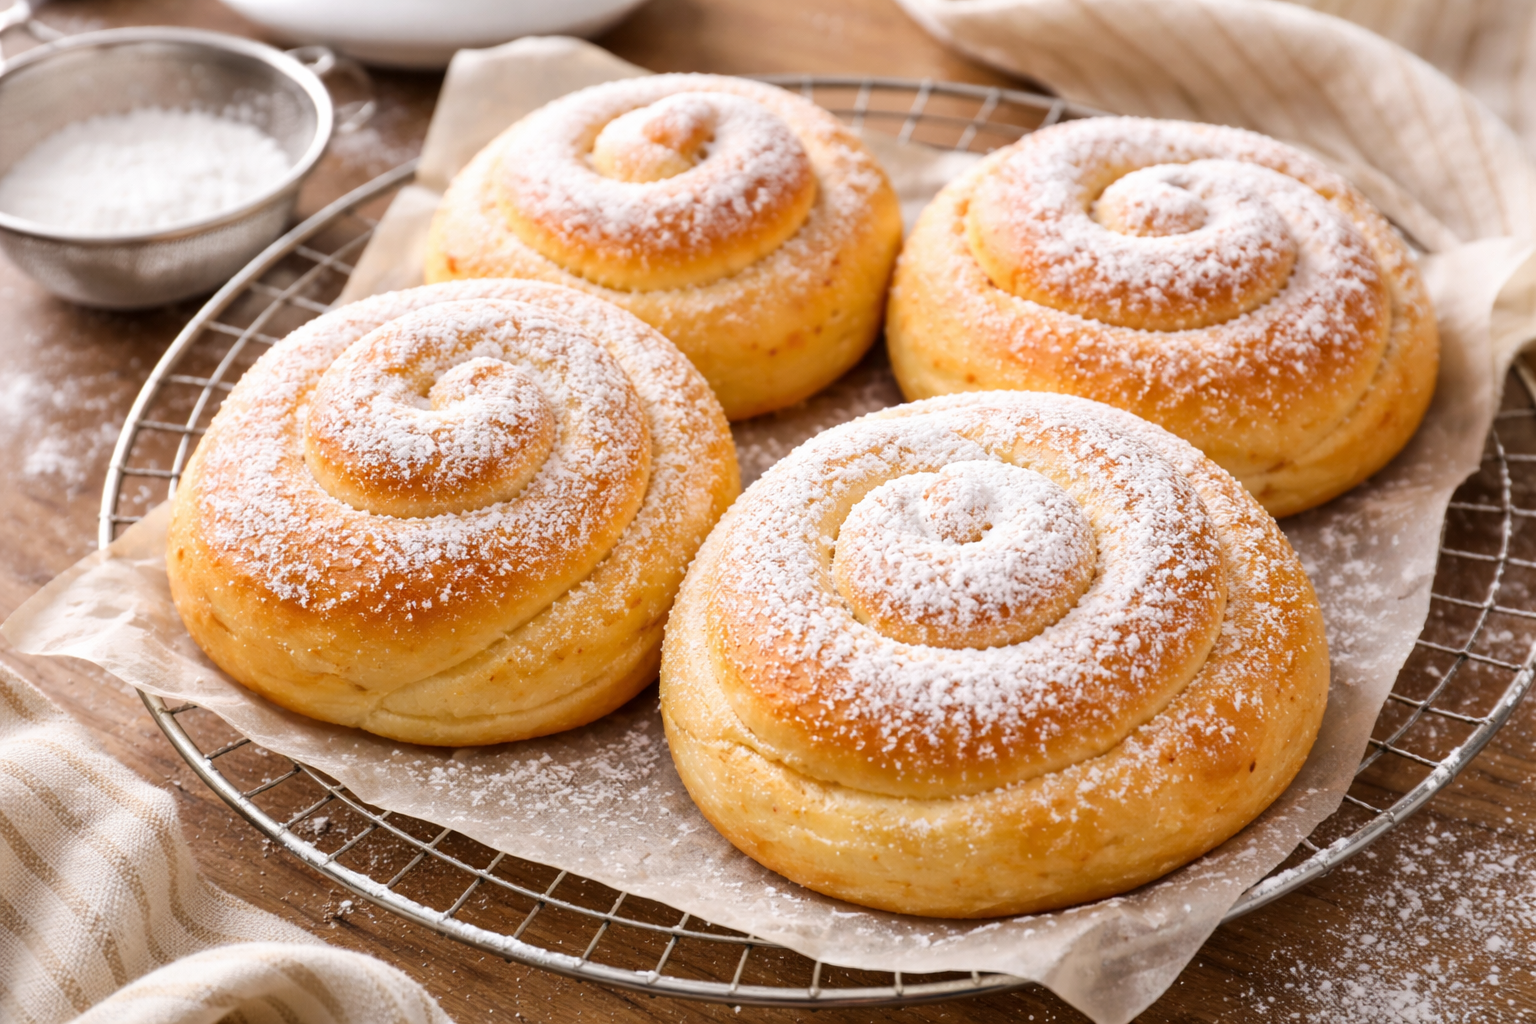
Pan de Mallorca: Soft Puerto Rican Sweet Rolls (Step by Step)
The first time you pull a Pan de Mallorca out of the oven, you understand why every Puerto Rican bakery sells out by noon. The coil shape isn’t just aesthetic — it’s engineering. Each layer catches butter and creates pockets of air that turn the crumb impossibly light. The powdered sugar melts just slightly into the warm dough, turning every bite into something that feels both indulgent and comforting.
These aren’t complicated. They just take time — and a willingness to trust the process. The dough is sticky. The coil looks loose. The final rise feels too long. But every step has a reason, and when you bite into one, still warm from the oven, you taste exactly why.
This recipe makes 8–10 rolls in about 3 hours (mostly hands off). You don’t need a stand mixer or any special equipment. Just flour, butter, a little patience, and your hands.
The coil technique that creates the signature light, flaky texture
The coil isn’t decoration. It’s what makes the crumb light, soft, and impossibly tender.
The Secret: Shaping is Everything
Why the coil matters. When you roll the dough into a rope and coil it loosely, you’re creating dozens of layers that expand in the oven. Each layer separates slightly, forming air pockets that give the roll its light, flaky structure. It’s the same principle as laminated dough, but without the fuss of folding and chilling.
The most common mistake? Winding the coil too tight. If there’s no room for the dough to expand, you end up with a dense roll instead of a pillowy one. Keep it loose. Trust it.
Recipe
Pan de Mallorca (Puerto Rican Sweet Rolls)
Yield
8-10 rolls
Prep
30 min
Rise
2 hr 30 min
Bake
20-25 min
Total
~3 hrs
Ingredients
Dough
- 4 cups bread flour (plus extra for dusting)
- 1 packet (2 ¼ tsp) active dry yeast
- ¾ cup warm milk (about 110°F)
- ½ cup (1 stick) unsalted butter, softened
- ⅓ cup granulated sugar
- 3 large eggs, room temperature
- 1 tsp salt
Finishing
- 2 tbsp unsalted butter, melted (for brushing)
- Powdered sugar for dusting (generous)
Equipment
- Large mixing bowl
- Baking sheet + parchment paper
- Kitchen scale (recommended)
- Dough scraper
- Wire cooling rack
- Pastry brush
- Fine-mesh sieve (for powdered sugar)
Phase 1
Make the Enriched Dough
Activate the yeast.
In a large bowl, combine the warm milk, 1 tablespoon of the sugar, and the yeast. Stir gently and let sit for 5–8 minutes until foamy on top. If there’s no foam, your milk temperature is off — start over with fresh yeast and check your thermometer.
Build the dough.
Add the remaining sugar, eggs, softened butter, salt, and flour to the yeast mixture. Stir with a wooden spoon or dough whisk until it forms a shaggy, sticky mass. This dough is supposed to be rich and soft — don’t panic if it feels wetter than other bread doughs.
Knead until smooth and elastic.
Turn the dough onto a lightly floured surface. Knead for 10–12 minutes, adding flour only as needed to keep it from sticking to your hands. The dough is ready when it’s smooth, elastic, and springs back when you press it. It should feel tacky, not dry.
Enriched doughs (butter, eggs, milk) take longer to knead than lean doughs. Be patient. The windowpane test works here: stretch a small piece between your fingers — if it forms a thin, translucent membrane without tearing, you’re done.
First rise.
Shape the dough into a ball and place it in a lightly oiled bowl, turning it once to coat. Cover with plastic wrap or a damp towel. Let rise in a warm spot for 1.5 hours, until doubled in size.
A warm oven with just the light on is ideal. Don’t rush this step — enriched doughs need the full rise time to develop the airy, tender crumb.
Phase 2
Shape the Coils
Divide the dough.
Punch down the risen dough and turn it out onto a lightly floured surface. Divide it into 8–10 equal pieces (about 3.5–4 oz / 100–115g each if you’re weighing). Cover the pieces with a towel while you work.
Roll into ropes.
Take one piece and roll it with both hands into a long, even rope — about 18 inches long and ½ inch thick. Don’t rush. If the dough resists, let it rest for a minute and come back to it.
Give each rope a quick knead before shaping to work out any air bubbles. This keeps the coil tight and even.
Coil from the center out.
Starting from one end, coil the rope into a spiral — like a snail shell — working from the center outward. Don’t pull it tight; let it coil loosely. Tuck the end underneath when you reach the outer edge. Repeat with remaining pieces.
The secret to a light, airy roll is a loose coil. If you wind it too tight, the dough can’t expand during the final rise and bake. Give it room to breathe.
Brush with butter and rest.
Place the coiled rolls on a parchment-lined baking sheet, about 2 inches apart. Brush each one generously with melted butter. Cover loosely with plastic wrap and let rise for 1 hour, until puffed and nearly touching.
Don’t skip the final rise. This is what creates the signature light, pillowy texture. An hour is not optional.
Phase 3
Bake and Finish
Preheat to 350°F (175°C).
Place a rack in the center of the oven. Let it come to full temperature — no shortcuts here.
Bake until golden.
Bake for 20–25 minutes, until the tops are golden brown and the rolls sound hollow when tapped. They should be deeply golden, not pale. An extra minute or two gives you better color and structure.
Cool slightly and dust with powdered sugar.
Transfer the rolls to a wire rack and let them cool for 5–10 minutes. While they’re still warm, use a fine-mesh sieve to dust them generously with powdered sugar. Don’t be shy — the sugar is part of the experience.
The crumb should be light, soft, and pillowy when you tear into one. If it’s dense, you either added too much flour during kneading or didn’t give it the full rise time.
Tips From Our Kitchen
Enriched dough is sticky
Don’t add too much flour during kneading. The dough should feel soft and tacky — that’s what keeps the rolls tender. Add flour only when it’s actually sticking to your hands.
The coil should be loose
Don’t pull the rope tight when coiling. A loose spiral gives the dough room to expand and creates that light, airy structure.
Perfect with café con leche
These are traditionally served alongside strong, sweet Puerto Rican coffee. The pairing is ideal — the powdered sugar plays off the bitterness beautifully.
Try a filling
Before coiling, you can spread the rope with cream cheese or guava paste for a sweeter, richer variation. Just don’t overfill — the coil still needs to hold together.
Freezes well
Cool completely, then freeze in an airtight container for up to 3 months. Thaw at room temp and warm at 300°F for 5 minutes before dusting with fresh powdered sugar.
The Final Dusting
That’s it. Flour, butter, yeast, eggs, and a little sugar. The coil shape does the rest.
These rolls aren’t fussy. They don’t require precision or technique you need to practice for months. They just ask you to slow down. Let the dough rise. Give the coil room to breathe. And when you pull them from the oven, dust them generously — the powdered sugar is half the experience.
If you’re baking these, you already know that good bread comes from good tools. A scale that doesn’t drift. A dough scraper that actually scrapes. A bench that doesn’t stick. None of it makes you a better baker — but it makes the work feel the way it should: smooth, intentional, and worth the time.